Closing day is the finish line of every real estate transaction—but for new agents, the road leading there can feel like a maze. From inspections and title work to lender timelines and client expectations, there are countless moving parts that need to come together perfectly.
If you’re a new agent with ambition and hustle, the key to a smooth closing isn’t just knowing what needs to be done—it’s knowing when and why. That’s where a structured, time-based checklist becomes your best friend. This guide walks you step-by-step through every action to take from contract to closing, so you can lead your clients confidently through the process.
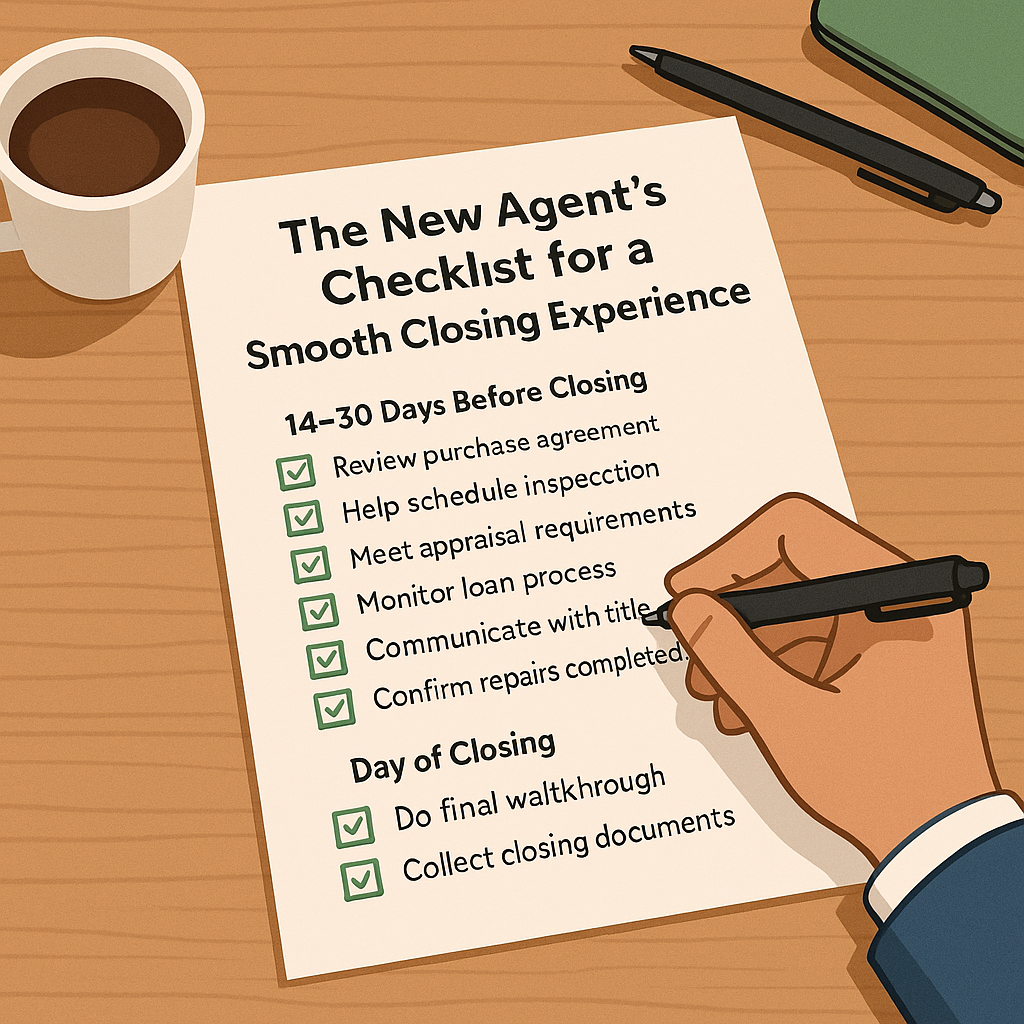
14–30 Days Before Closing: Lay the Groundwork
✔ Review the Fully Executed Contract
⏱ Immediately after acceptance
Ensure all terms are clear and all signatures are in place. This contract dictates the timeline—understand every clause.
✔ Send Contract to Title Company
⏱ Within 1 business day
This triggers the title search, opening title, and escrow processes. Delays here delay everything.
✔ Schedule Inspections and Appraisal
⏱ Within 3–5 days
Get ahead of the rush. Inspectors and appraisers book up quickly, especially in hot markets.
✔ Introduce All Parties via Group Email
⏱ Once title is ordered
Loop in the buyer, seller, lender, title, and co-op agent. Clear communication prevents future confusion.
✔ Help Buyer Begin the Loan Application (if applicable)
⏱ Immediately
Getting a jump on this avoids stress closer to closing. Ensure your client is submitting docs promptly.
10–13 Days Before Closing: Double-Check the Details
✔ Follow Up on Title Commitment
⏱ Typically within 10 business days of opening title
Review for issues like unpaid liens, judgments, or title defects. These need to be addressed early.
✔ Confirm Receipt of Payoff Statements and HOA Documents
⏱ By day 10–12
Waiting on these documents is a common delay. Stay on top of it so you’re not scrambling later.
✔ Monitor Contingency Deadlines
⏱ Ongoing
Appraisal, financing, and inspection dates must be met or extended in writing. Letting one lapse can kill your deal.
✔ Stay in Sync with the Lender
⏱ Throughout
Touch base regularly to confirm loan status, required documents, and expected closing disclosure delivery.
7 Days Before Closing: Final Prep Begins
✔ Send a “Closing Week Expectations” Email to Clients
⏱ One week out
Include what they need to bring (ID, funds to close), who to contact with questions, and how the day will unfold. This builds confidence.
✔ Confirm All Repairs Are Completed
⏱ By day 5 at the latest
Don’t wait for the walkthrough. Ask for photos and receipts in advance to keep things on track.
✔ Schedule Final Walkthrough
⏱ 24–48 hours before closing
This verifies property condition and that agreed-upon repairs are done. Your buyer’s peace of mind depends on it.
✔ Confirm Closing Time and Location with All Parties
⏱ At least 3 days in advance
Ensure everyone agrees on the time, address, and format (in-person, mobile notary, etc.). Miscommunication here leads to chaos.
1–2 Days Before Closing: Tighten Loose Ends
✔ Review Final Closing Disclosure with Client
⏱ At least 1 day before closing
Check the commission, fees, prorations, and payoff amounts. Flag anything off—mistakes can and do happen.
✔ Confirm Buyer Has Wired Funds to Close (if applicable)
⏱ 1 day prior
Avoid wire fraud by making sure your client uses verified instructions directly from the title company.
✔ Ensure Client Brings Valid Photo ID
⏱ 1 day prior
A forgotten ID can delay closing by hours. Remind your client in writing and in conversation.
✔ Organize Your Transaction Documents
⏱ Night before
Be ready with a copy of the contract, addenda, walkthrough notes, and any receipts or disclosures. This shows you’re dialed in.
Day of Closing: Be Present, Be Prepared
✔ Arrive Early and Be Available
⏱ 10–15 minutes early
Show up calm, collected, and ready to answer questions. This moment is big for your client—help them feel supported.
✔ Facilitate the Final Walkthrough (if not done yet)
⏱ Same-day if needed
Some buyers prefer same-day walkthroughs. Be flexible, but confirm it happens before any papers are signed.
✔ Guide the Client Through Closing Paperwork
⏱ During signing
Stay engaged. Don’t check out while title or escrow handles the docs—your client may have last-minute questions.
✔ Celebrate the Win
⏱ After signing
Congratulate your client, thank the other agent, and take a photo (with permission). It’s a milestone worth marking.
After Closing: Wrap It Up Right
✔ Send a Thank-You Note or Follow-Up Message
⏱ Within 48 hours
This small gesture leaves a big impression—and can be the start of a referral relationship.
✔ Deliver Any Keys, Garage Openers, or Documents
⏱ Same day or as soon as available
Ensure your buyer has access and your seller has clarity. Prompt follow-up reflects your professionalism.
✔ Touch Base One Week Later
⏱ 7 days post-close
Reach out with a “how’s it going?” email or call. Clients remember how you made them feel after the deal.
The Bottom Line: Be the Calm in the Chaos
Closings can be complex, but with the right structure, they don’t have to be stressful. As a new agent, mastering your process is one of the most powerful ways to earn trust, build confidence, and turn transactions into relationships.
This checklist isn’t just about ticking boxes—it’s about creating a calm, informed, and frictionless experience for everyone involved. Follow it consistently, and you’ll stand out in a crowded field—for all the right reasons.